


Welcome to the second installment of our comprehensive guide to crafting high-quality videos in-house.
In our first blog we went over the basic step of outlining and creating a script for your video. You can check that out here.
Once you have created a script or at least an outline for your video, it is time to get “on set” and “rolling”.
Now, let’s take your production skills to the next level by exploring the critical elements of sound and lighting.
Importance of Sound Quality
Sound plays a pivotal role in video production, significantly influencing the viewer’s engagement and overall experience. Captivating audio draws audiences into your content, while poor sound quality can detract from your message and diminish viewer retention.
To convey the message you want to get across, you need to ensure your audience can hear it and isn’t distracted by unpleasant noises.
How to Get Improved Sound Quality in Your Videos
Enhance your video’s auditory impact with these sound quality improvement tips:
1. CHOOSE A QUIET LOCATION:
We often accustom ourselves to noises that are regularly around us. Take a minute to close your eyes or focus your attention and see if there are any sounds you have subconsciously been ignoring.
Select a noise-free environment for filming to minimize distractions and ensure clear audio capture.
This may not always be necessary – as in when you are making a behind-the-scenes video or demonstration of a medical procedure or some such. Or if you are making a fun video on your mobile phone while out and about at a restaurant, park, etc.
2. INVEST IN AN EXTERNAL MICROPHONE
Consider purchasing an external lapel microphone that you can connect up to your phone. This is the type of microphone that clips to your shirt or blazer. You can find these pretty affordably on Amazon, Best Buy or similar stores. This can make all the difference in your sound when it comes to creating in-house professional videos.
If you are going to be more than a few feet from your camera, you will want a microphone. These microphones also help reduce ambient noises. (At the end of this post, I share links to a microphone and a light that you may want to purchase.)
Check out this video where we demonstrate the sound quality in different scenarios:
;
Enhancing Video Lighting
Lighting is one of the basics when it comes to both photography and videography. In fact, the word “photography” quite literally means writing with light.
A word should be put in here on the subject of equipment. This whole series is aimed at providing you and your practice or business with the tools needed to create affordable in-house videos to use in your marketing.
We are assuming most of you will be creating these videos with a hopefully newer phone. However, we do have an article that covers some affordable additional tools that are well worth the investment. In that article, our CEO provides direct links to tools like microphones, tripods, and lights. You can read that article here: How to Get Started with Video on a Budget.
Now, let’s get onto lighting.
Proper lighting is indispensable for creating visually compelling videos. Effective lighting techniques can elevate your footage, accentuate subjects, and establish the desired mood or atmosphere.
Illuminate your videos with these lighting enhancement strategies:
- Set up near a window or source of natural outdoor lighting. This is personally my favorite lighting source. This will do the trick in helping you create your videos, however, it can be inconsistent – clouds or items can cause shadows.
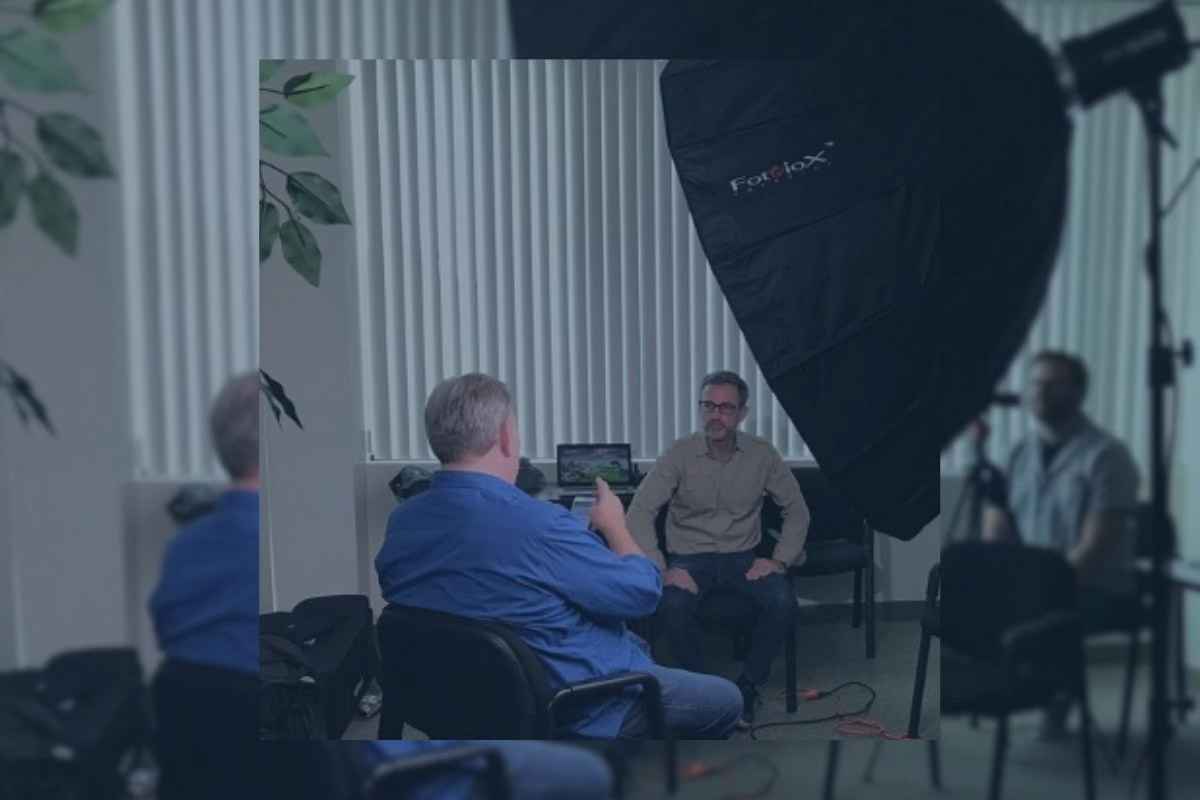
- Purchase an external light source. Even purchasing something as cheap and simple as a ring light or “softbox” light can make a world of difference in the quality of your video.
Here are examples of various lighting situations. These are all taken on my cracked-up phone (thanks to my children).
Some other items of note I want to put in here:
- Before filming, wipe off your phone’s camera lens. Our phones get dirtier than we are aware of. I see videos all the time that look blurry simply because the person recording forgot to wipe off their lens before shooting.
- Use the right camera lens. Recording with your back camera (the one on the back of the phone) rather than the camera on the front of the phone will turn out better. The main lens of the camera tends to be better designed and more advanced than the front or “selfie” camera.
Good luck shooting! We look forward to seeing some amazing videos.
Best,
Christine Leacox
Director of Marketing Operations
RESOURCES:
LIGHT USED IN LIGHTING VIDEO: https://www.amazon.com/gp/product/B0B6V16YD9/ref=ppx_yo_dt_b_search_asin_title?ie=UTF8&psc=1
MICROPHONE IN VIDEO:
https://www.amazon.com/dp/B09P3T1X8Q?ref_=cm_sw_r_apin_dp_2BEADGHWNHNF8CASQ437